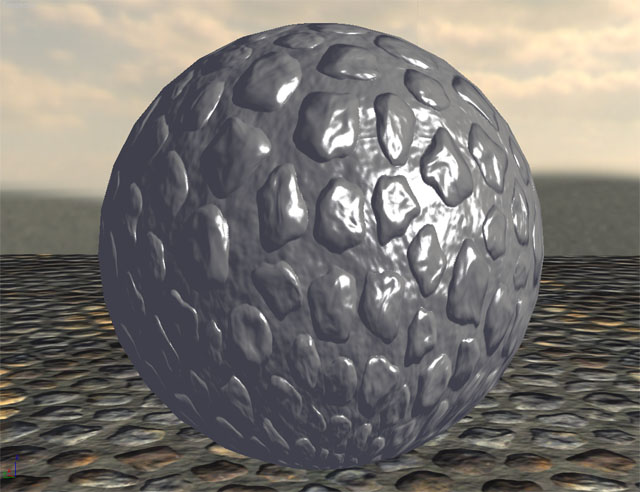
Per-Pixel Lighting
Viewpoint Gradient
Subtract Gradient from Base
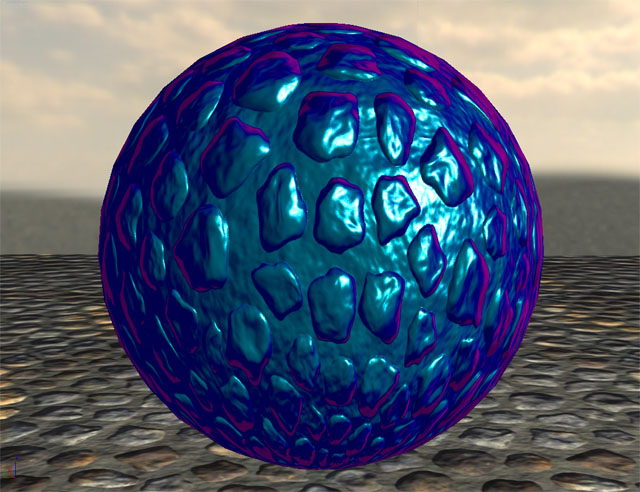
Complete Shader
|
|
CAR PAINT SHADER
SPECS:
HARDWARE:
|
DirectX 9 or higher
|
TEXTURES:
|
- Diffuse Texture
- Normal Map Texture
- Specular Mask (diffuse alpha channel)
|
INPUTS:
|
- Ambient Color
- Diffuse Color
- Specular Power (shininess)
- Light Color
- Light Position
- Edge Color
- Middle Color
- Fresnel Bias
- Fresnel Power
|
PASSES:
|
One
|
UPDATED:
|
11/26/05
|
DOWNLOAD: (right click and choose "save target as...")
 Car Paint Shader Car Paint Shader
COMMENTS:
This shader has all of the features of the Normal Map Specular shader. It also includes some features to imitate the look of tricked-out car paint. Some car paint appears to change color based on your viewing angle. The paint looks like one color when you're looking straight at the surface and another color when the surface is parallel to your view. This shader imitates that effect.
To achieve the effect, the first thing we need is a color gradient. The shader includes two colors. Surfaces on the model that are facing you will receive the "Middle Color" while surfaces at glancing angles will receive the "Edge Color."
The amount of each color in the gadient is determined by the "Fresnel Power" and "Fresnel Bias" values. These will allow you to tweek how much of each color gets applied to the effect.
Finally, the two colors are subtracted from the per-pixel lighting result. Because the colors are subtracted, you'll end up with the opposite colors from the ones you selected and they'll darken the final result.
The fresnel term in this shader is a very useful shader component. Most objects that are reflective are more reflective at glancing angles than straight on and the fresnel term can be used to achieve that effect. It can also be used to blend between reflection and refraction in water.
Normal Map compression is an option that you can use with this shader. Copy the red channel of your normal map to the alpha channel. Then delete the red and blue channels and save your normal map in DXT5 DDS format. Put your compressed normal map in the DXT5 Normal Map slot for the shader. Then choose "Compressed" as the technique instead of "complete."
Updates (11/26/05):
Vectors in world space to fix Max 8 lighting bug.
Added option to flip the green channel in the normal map.
INSTRUCTIONS:
For instruction on how to apply this shader to your model in 3DS Max, read my tutorial - HLSL Shaders in 3DS Max.
For instruction on how to create normal maps for this shader, read my tutorial - Creating and Using Normal Maps.
If you'd like to use some of my textures with this shader instead of making your own, you can find them here.
ADDITIONAL:
If you have trouble getting this shader to work correctly in 3DS Max, send me an email. I'll see If I can help. Also, I'm an artist - not a programmer. If you are a programmer or know more about shaders than I do and you find something in this shader that is poorly written, broken, etc, I'd love to hear from you. I've mostly taught myself how these things work so if you have some pointers for me that would be great!!
Return to the list of Shaders
|